Back when I started my business, blogs were in their infancy, I’d never heard of facebook, and there were no online cake photography classes. It was just me, my husband, and our camera. I couldn’t take a good picture, but I knew exactly how I wanted my photos to look, so I would stage my table, position my cake, and ask my husband–a natural with the camera–to shoot my pictures for me. At 5’2″ tall, my eye level was very different from my 6’5″ tall husband’s, and all his photos, while excellent in quality, were taken at what appeared to me a bird’s eye view. This, coupled with my preference for overexposed photos and his aversion to them, lead to many good fights. Sure I tried to take my own photos; I just wasn’t very good.
Eventually, through trial and error and much to my husband’s delight, I taught myself how to use the camera and learned to take a decent picture of my cakes. (The good news is you can skip all the learning and take Carrie Sellman’s Craftsy class, Beautiful Cake Photography.)
To photograph my cakes, I prefer to use the painted white brick wall in the front of the shop as a backdrop, but since I can’t set up a photo shoot in the middle of the lunch rush, this isn’t always an option. Instead, I often end up shooting in the kitchen or even out back in the parking lot, and I purchased some 32″ X 40″ matboards (the thick paper used to make mats for framing artwork and photos) at a local craft store to use as backdrops. The colors are nice, but they’re sort of boring and plain and don’t do much for the cakes. I wanted something with a little more…something…but most professional photo backdrops are t0o pricey for my cheap ass.
When I purchased a roll of paintable textured wallpaper for an Ikea hack I’m working on at home, I knew it would make a fabulous backdrop. The paper is a warm white with a bit of texture and visual interest to compliment the cakes, and you can paint them. Plus, at around $25 for 11 yards (or 396″) of paper, the price is right. The backdrop I made here took about 80″ of paper, so a single roll is enough to make about 5 backdrops. That’s $5 per backdrop! Paint each one a different color and you’re set for life! It’s a little like winning the lottery.
Here are a few wallpaper patterns I love. Of course the texture and color you use will depend on the style and color of the cake you’re shooting. I’m keeping mine white and neutral for now, but I know it won’t be long till I’m painting it.
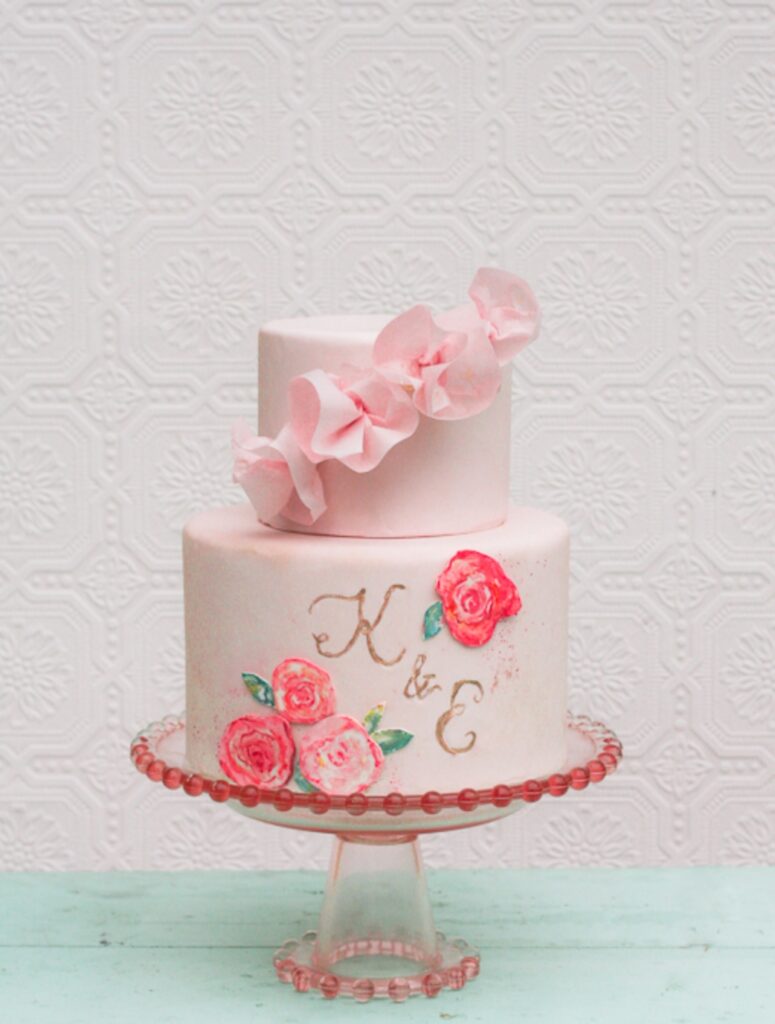
Graham and Brown’s Small Squares pattern, the one I chose, is classic and will work with any cake.

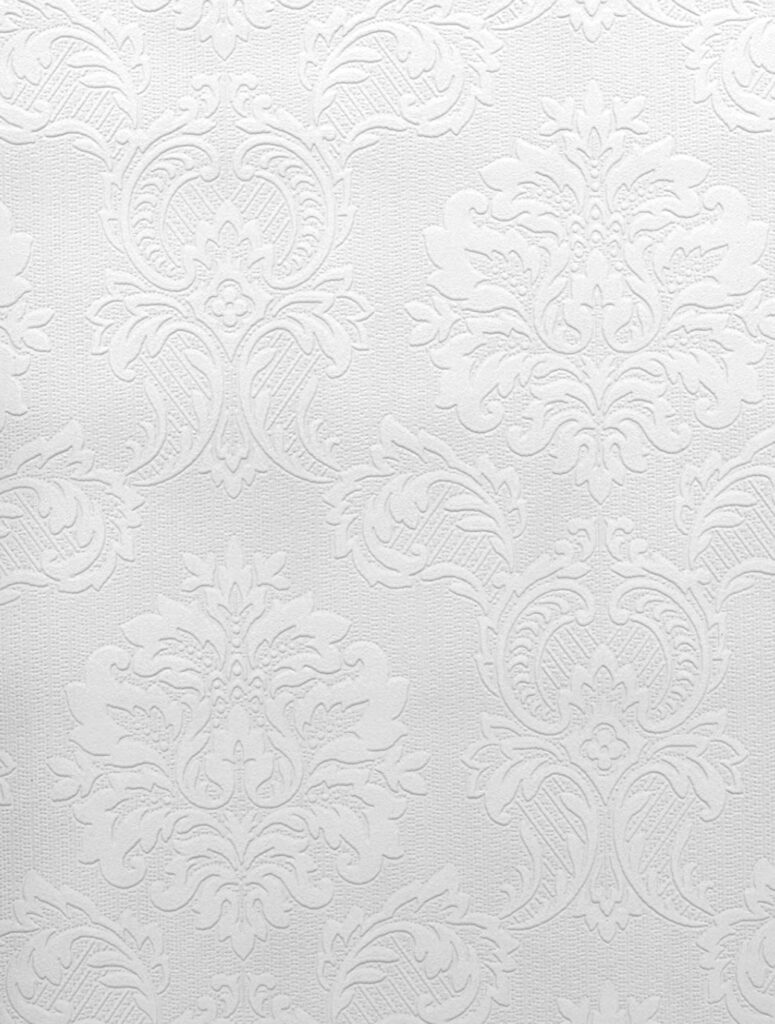
Brewster’s Damask textured wallpaper would be ideal as a backdrop for romantic cakes.
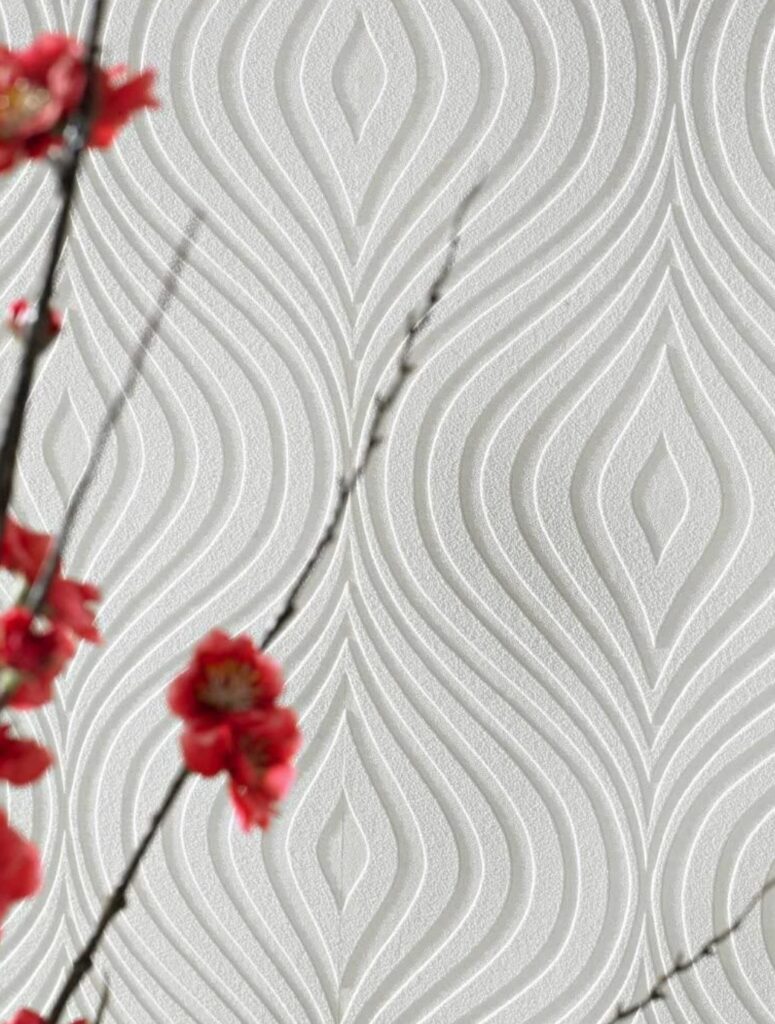
Graham and Brown’s paper in Curvy would be perfect for more contemporary cakes. I would love it in pink!
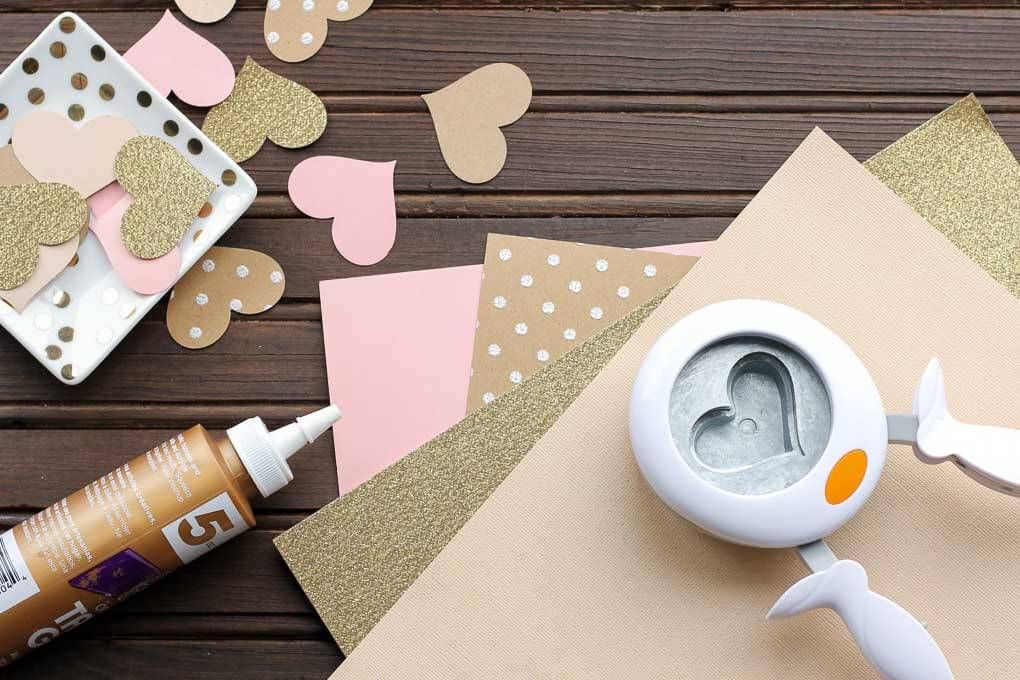
Here’s what you’ll need:
- Textured, paintable wallpaper of your choosing
- Craft adhesive spray
- Tape measure
- Scissors
- Blue painters tape (for hanging your backdrop to walls)
Large, lightweight board. We used a 32″ x 40″ matboard, but you could easily use a large piece of foamcore, cardboard, or lightweight piece of plywood (or any old thing you find lying around your house that is flat and the right size). You’ll want to be sure your board is large enough to accommodate your cakes–standard size foamcore (20″ x 30″) is usually too small for me–and lightweight enough to secure with painter’s tape to a wall, but not so lightweight that it will be flimsy.
Cut wallpaper to the approximate length of your board. It need not be too exact since chances are no one will see the outer edges of your board in your photos. Since the wallpaper is pretty narrow (20.5″ wide), you will most likely need to cut two pieces (or more) to fill the entire width of your board. Since our board was 32″ wide, we needed two pieces.
Spray adhesive on the back of wallpaper and place carefully on board. Be sure to line up subsequent pieces as closely as possible to avoid visible seams.
Secure your backdrop to the wall and shoot away! Here are some photos with my new backdrop:
As always, please share any photos of your DIY backdrop with us! Our readers love to see your projects. Best of luck!
lauza
I was getting worried about purchasing a picture back drop but this is awesome thank u
Stephanie
Thank you for sharing! I struggle with backdrops and this is a great tip!
Maria
this is simply genious! thanks for sharing Erica!